Ina OS operating system uses a modified graphical shell called Gnome Shell. In addition to the standard appearance settings, this shell can be customized through so-called extensions. In this article, we will look at how to install the extension manager and how to use it.
¶ Installing Extension Manager
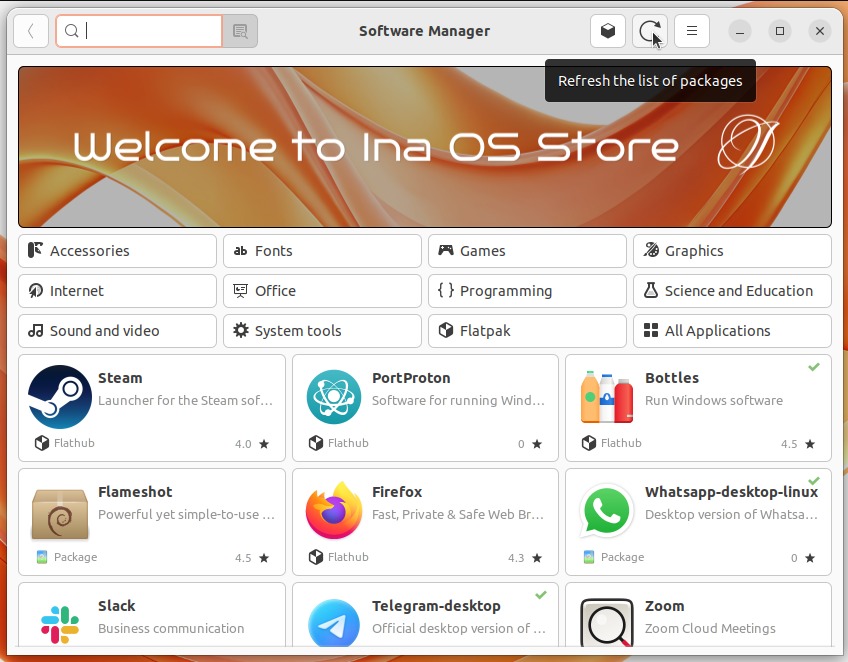
1. Open Ina OS App Store

2. Click "Update package list" the rounded arrow in the upper right corner of the store window next to the search bar
3. After a successful update, search for "gnome shell" and press enter
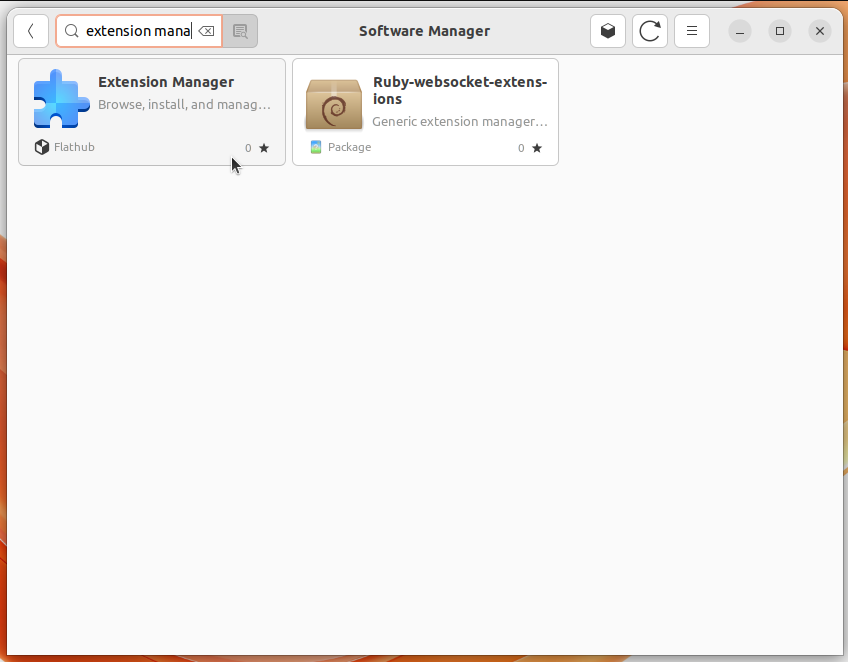
4. Select the "Extension Manager" app, click "Install"
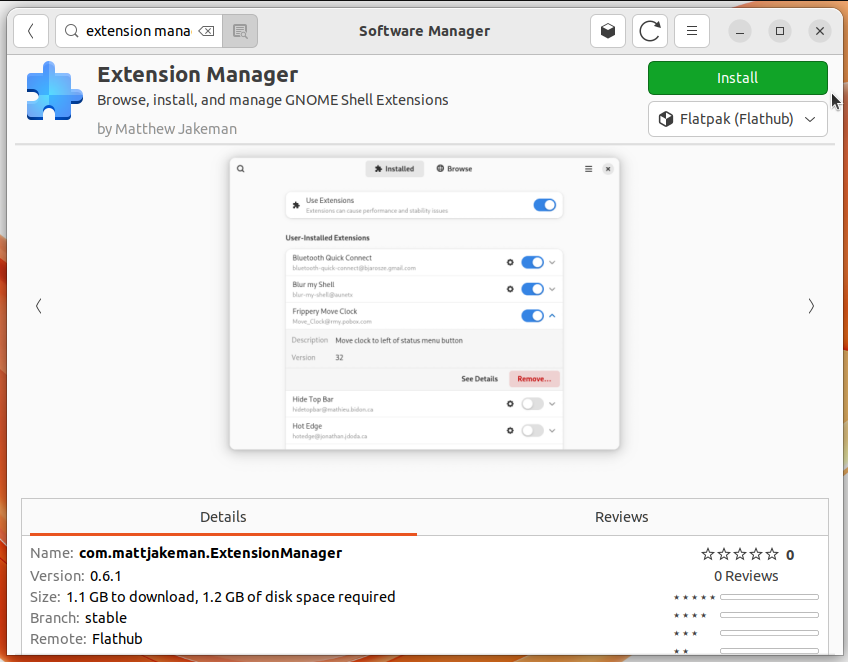
5. Confirm installation of additional packages, wait for the application to install
¶ Using Extension Manager
Launch the "Extension Manager" app from the store or app menu.
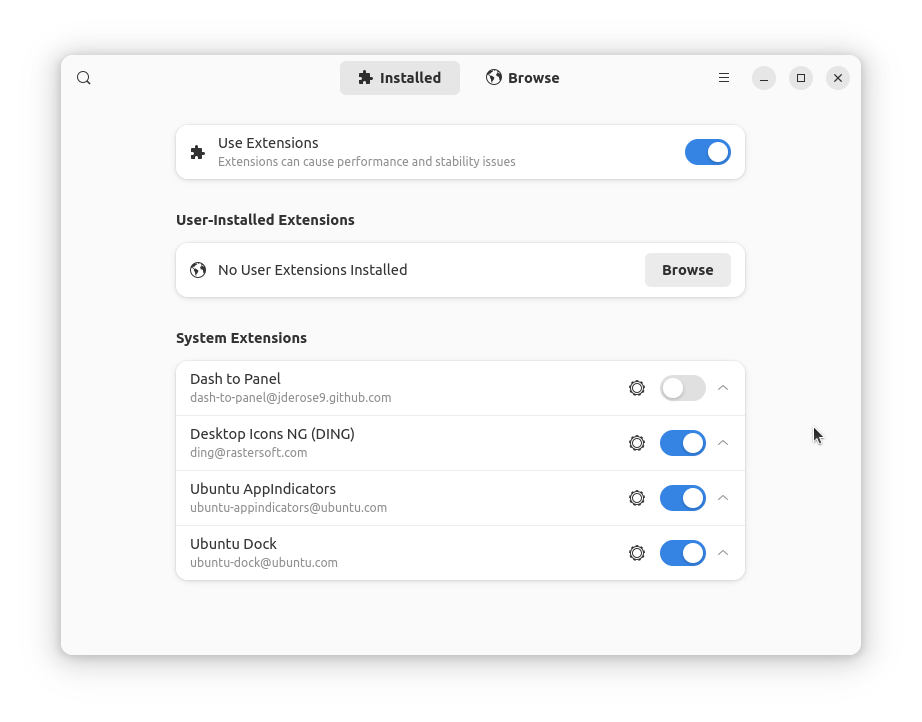
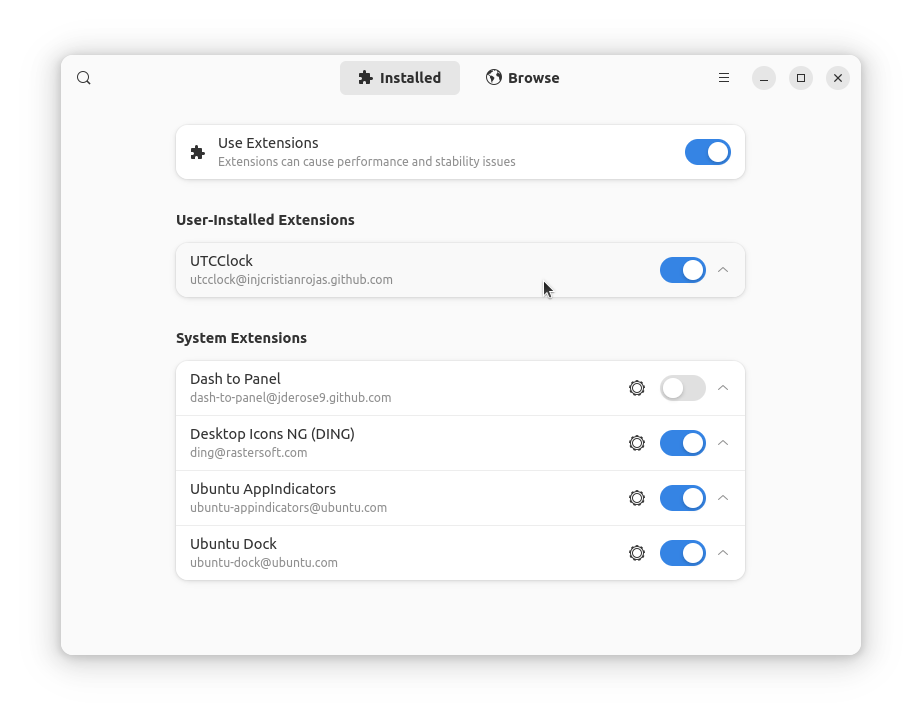
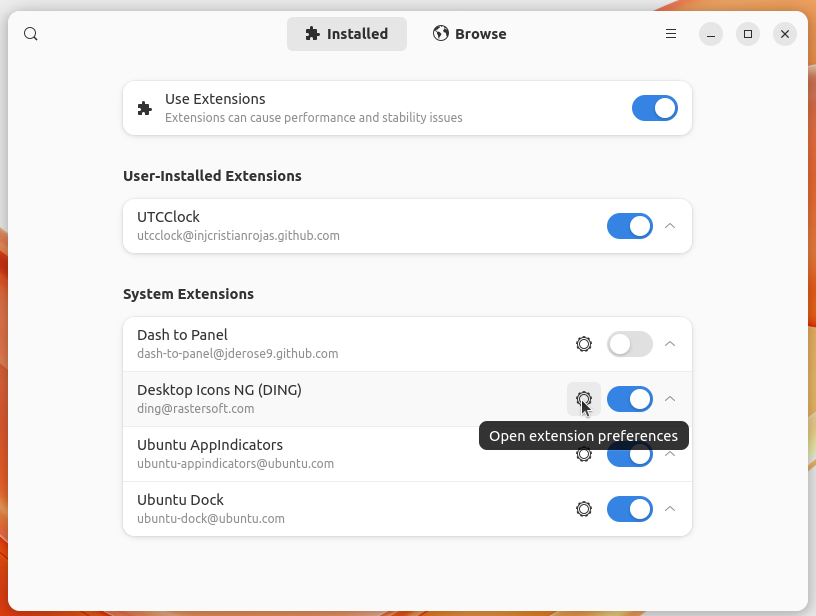
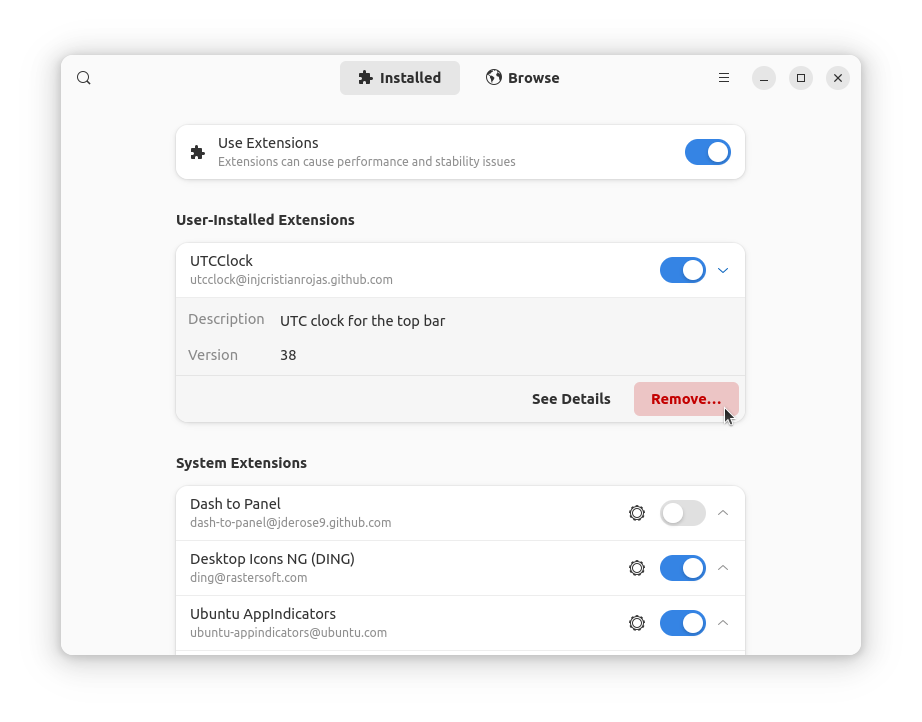
In this window you can see a list of already installed extensions, some of which are system extensions and are included in the standard Gnome build for Ina OS (System Extensions), some are installed by the user via the extension manager (User-Installed Extensions). Using the "Use Extensions" slider, you can disable or enable all extensions. The sliders next to individual extensions enable or disable individual extensions without uninstalling them.
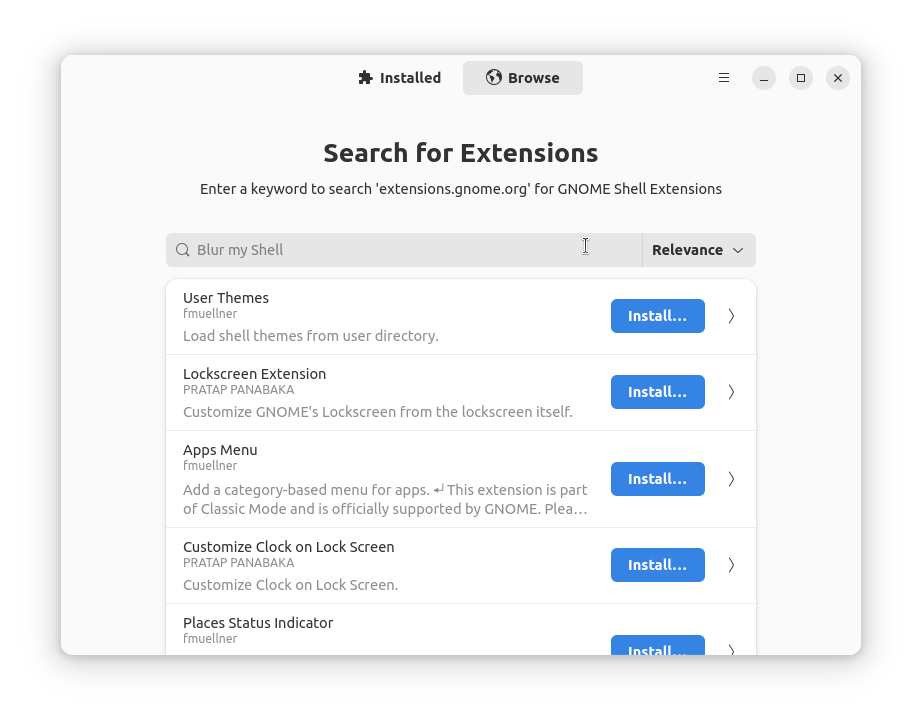
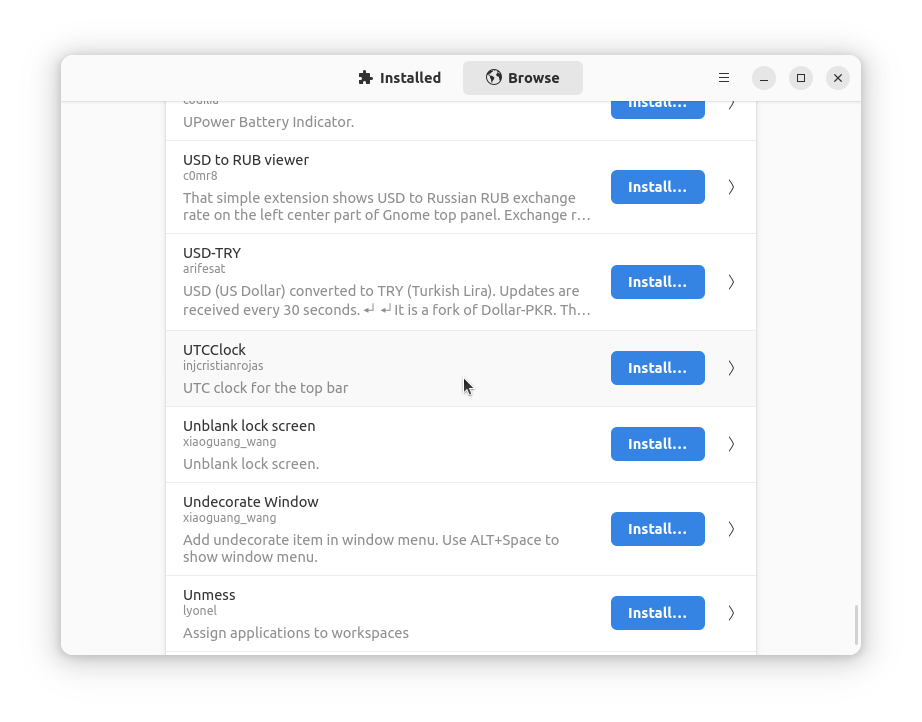
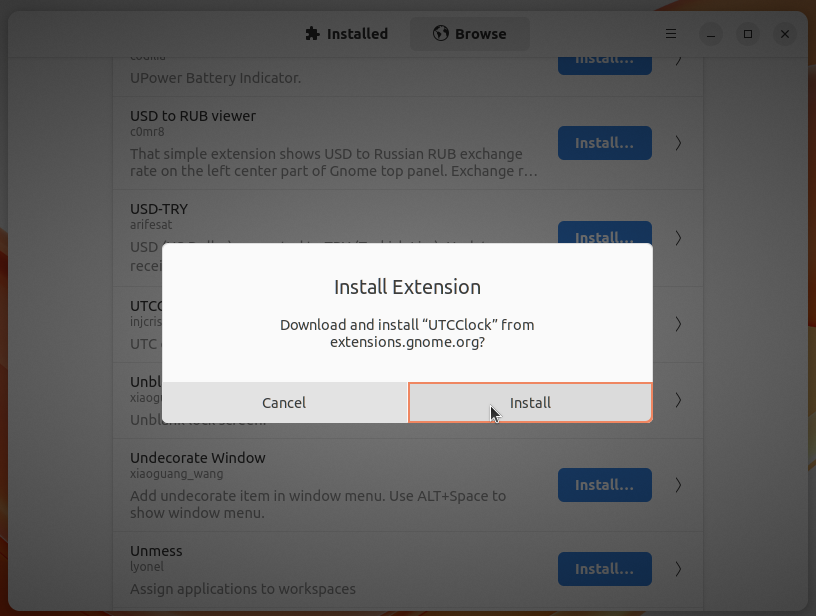
Use the Browse tab to search for and install extensions. As an example, let's try installing an extension that adds additional clocks (zero time zone, UTC) to the top panel.
¶ Using the web-version of the extension manager
As a more convenient alternative, you can use the browser version, https://extensions.gnome.org/, through any browser. To make it work, you need to install the Gnome Shell browser integration, which consists of two components.
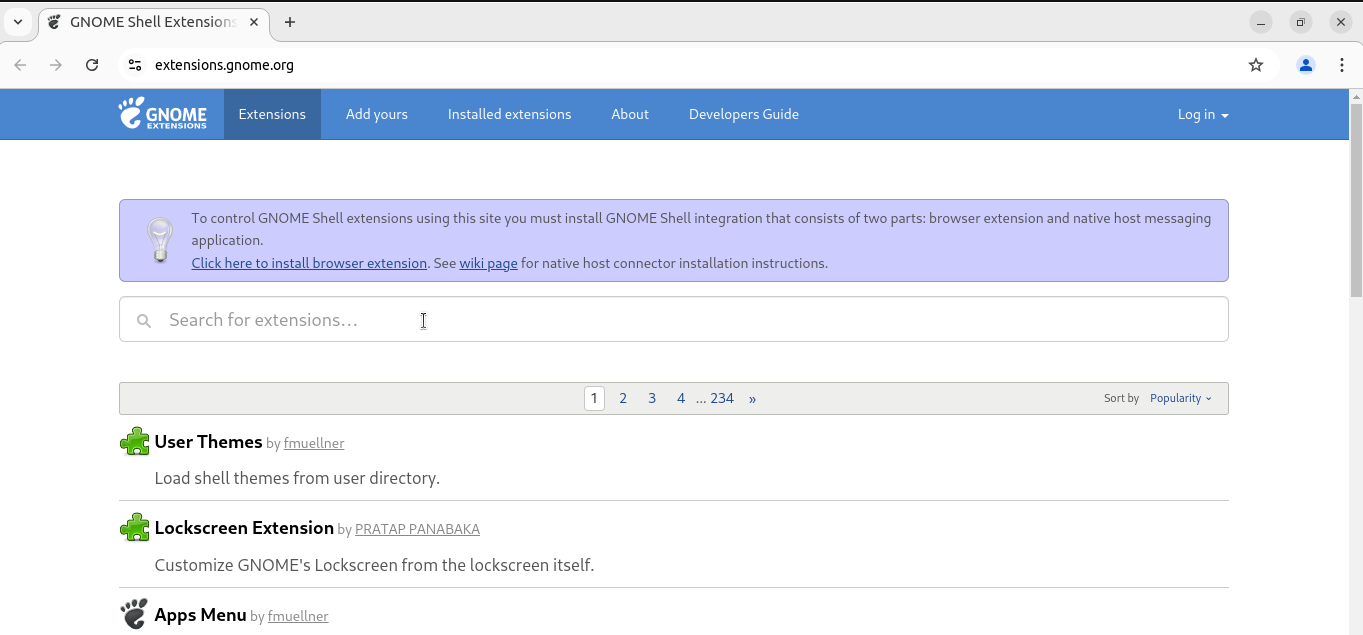
Pay attention to the warning block (highlighted in blue), it contains two links. Go to the first one, "Click here to install browser extension"
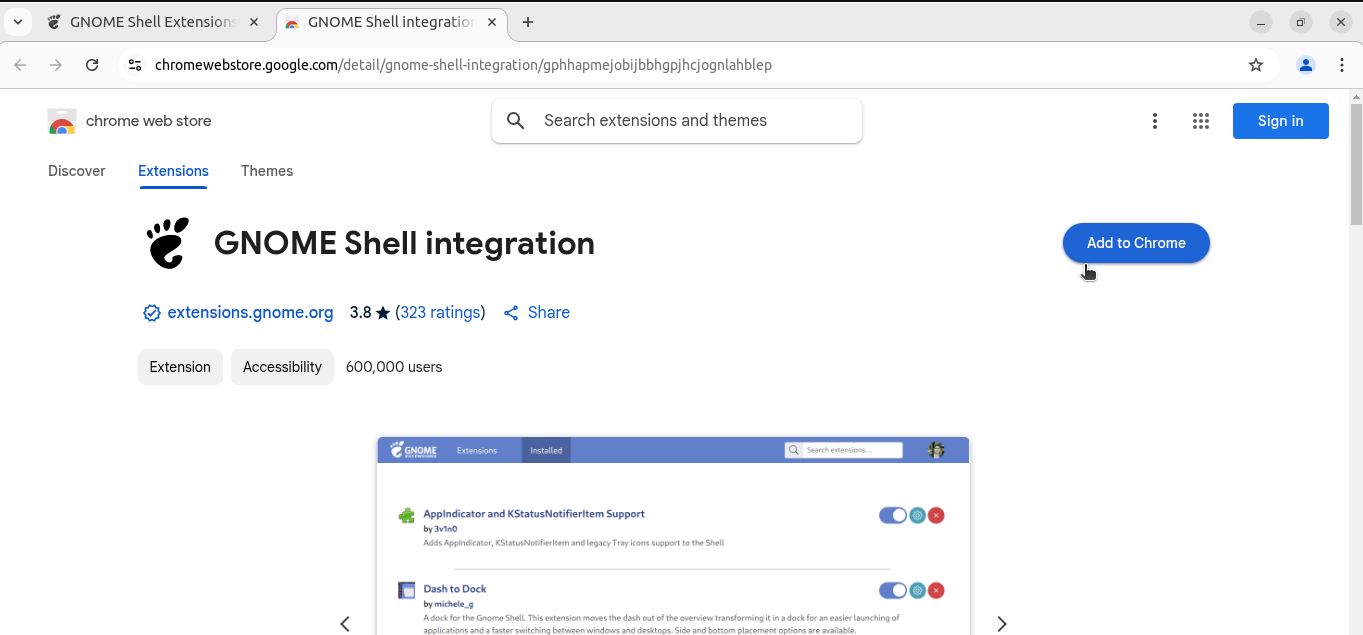
Install the extension by clicking "Install". Confirm installation.
After that, open the terminal and enter the command in it
sudo apt install chrome-gnome-shellPress Enter, enter the administrator password, wait for the host connector installation to complete. Close the terminal.
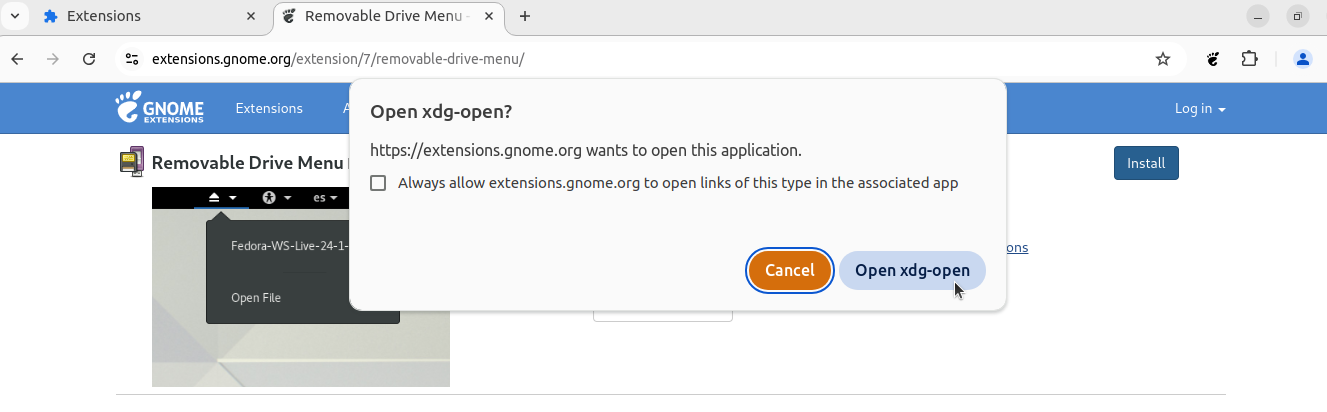
Gnome Shell integration into the browser is complete. Now you can install and activate extensions directly on the page https://extensions.gnome.org/
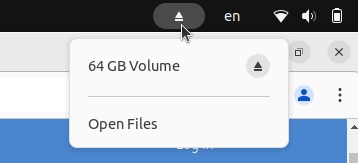
As an example, let's install the Removable Drive Menu extension, which adds the ability to manage removable media (flash drives and external drives) via the top panel